MySQL Database is an important component in every hosting panel or service like shared cPanel web hosting, Shared Windows Plesk Hosting, cPanel/Plesk VPS, or even Dedicated Server Hosting.
Installation instructions for Content Management Systems (CMS) often require you to create a MySQL database for the application. But just how is that done on a cPanel server?

The first section, “Create New Database”, is where we will be creating the database. By default, cPanel prefixes the name of your MySQL database with the username of your cPanel account. Enter your database name, and click “Create Database”.

Before your database can be used, you need to create a MySQL user to access the database. For security reasons, it is best to create a separate MySQL user for every database that you set up on your server. If one user is compromised, it only impacts one database.

Choose a username that is not longer than 7 characters. After deciding on a strong password, click “Create User”. Make a note of the full username (with the cPanel account name prefix) and the password, as you will need this information later when installing your CMS.
MySQL users need to be added to the database before they can start using the database. In cPanel, it is a simple matter of selecting the user and database from dropdown menus and clicking “Add”.

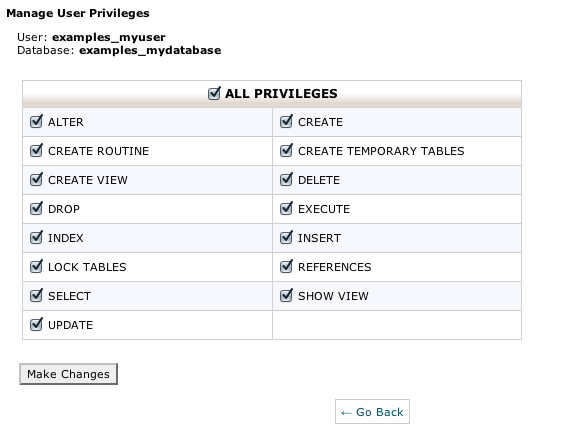
On the next screen, you will need to give the user the privileges it will have over the database. Your CMS’s installation instructions may specify the privileges it needs; if it does not, it is easiest to select All Privileges. After your selection, click “Make Changes”.

When you are finished, the database should show in the “Current Database” list as having the user you assigned to it:

Congratulations! Your database is now ready to store data for your application.


