phpMyAdmin is a web-based tool that we usually use for the purpose of managing and administering the MariaDB & MySQL databases. phpMyAdmin is available in the form of open-source application software programmed and built using the PHP scripting language, instigated by the Microsoft tool ‘MySQL –WebAdmin’. This tool is used for employing more than one database system or database management systems, along with their connected servers and node units. It was originally developed by Tobias Ratschiller, and later ended up with GitHub.
Due to PHP’s different setting limitations often the end-user was unable to import or export large databases using phpMyAdmin eg. file upload limit’s limitations, request time out settings, etc.
But database administration can be done without phpMyAdmin using various 3rd party software.
We will discuss here how to import and export a large database using MYSQL workbench from a shared cPanel hosting account.
First, you need to download and install The MYSQL Workbench software from MySQL Workbench’s website. You can browse this link https://dev.mysql.com/downloads/workbench/ to download the MYSQL WORK bench.
Just click download from here. Here is an attachment for your reference below

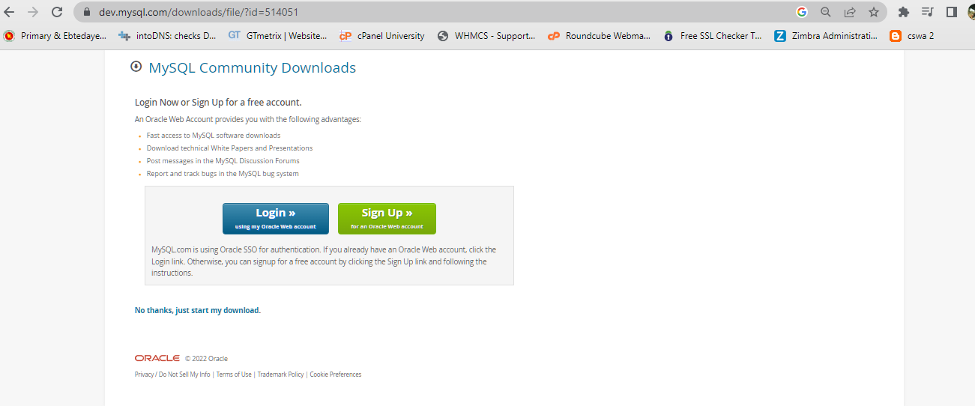
Then choose the option “No Thanks, Just start download”. The download process will start automatically.
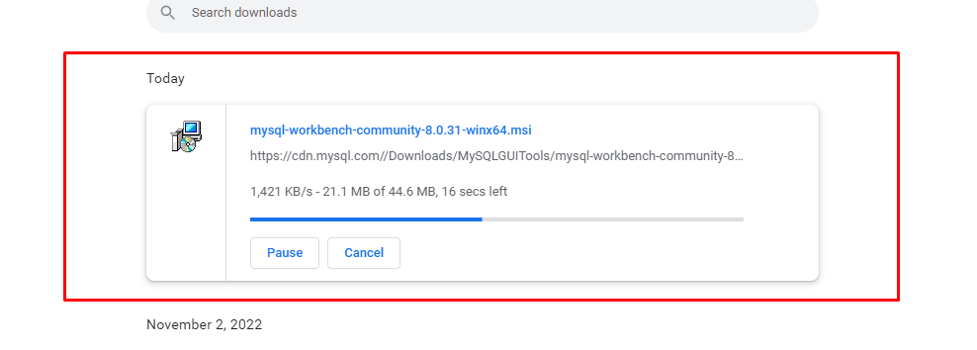
When the download process has been completed. Just “right-click” on that package and install it. Do next & next and complete the installation process also. For your better understanding here are some pictures below-
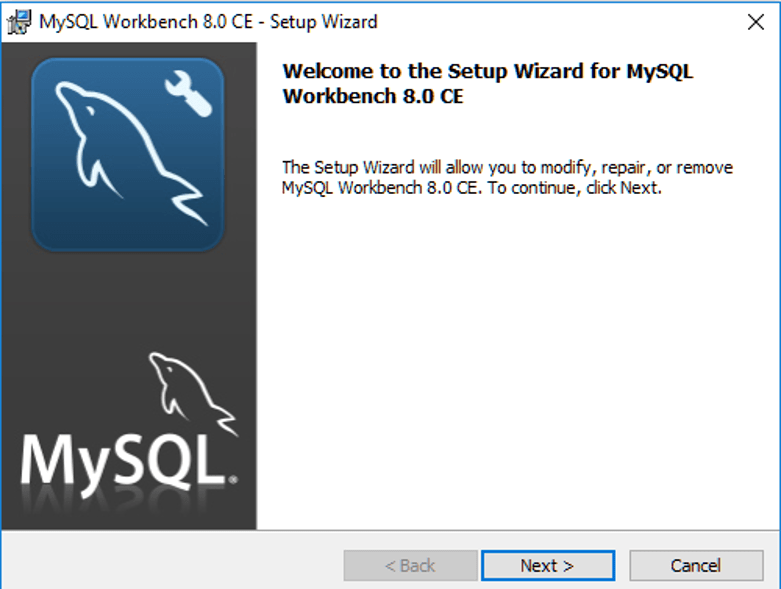
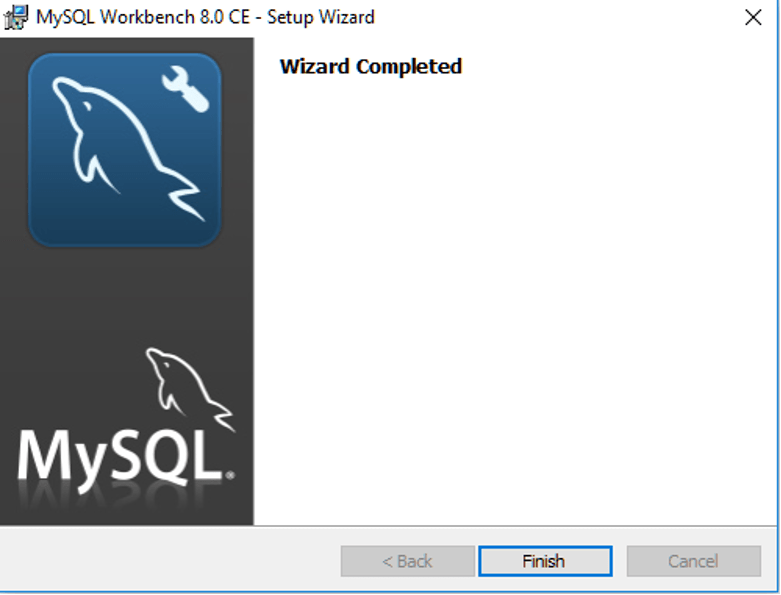
Well. That’s all. You have successfully downloaded and installed MySQL Workbench to your device now.
Hold a second, that’s not the end. Now you will need to enable ‘’Remote MySQL connection” from your cPanel. You can enable ‘Remote MySQL connection’ easily by following the steps from the blog post below- https://www.xeonbd.com/blog/enable-remote-mysql-connections-cpanel/
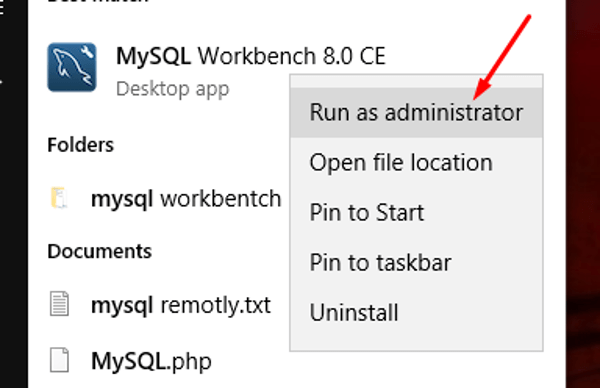
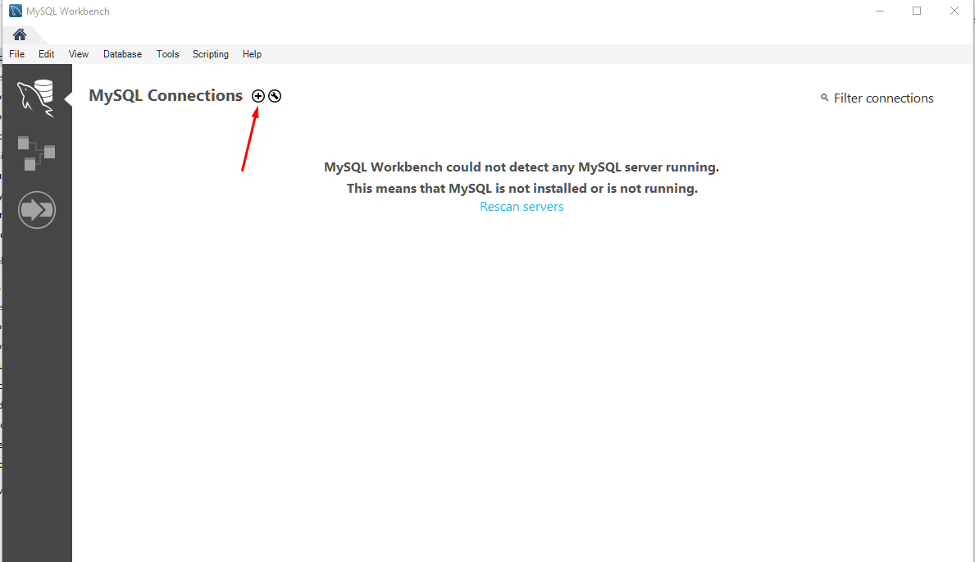
After successfully enabling remote MySQL connection from cPanel then Open your installed software “MySQL Workbench’ as an administrator. And you will see a window like the one below. Just click on the (+) sign as shown in the below picture. (+) this means adding a new connection.
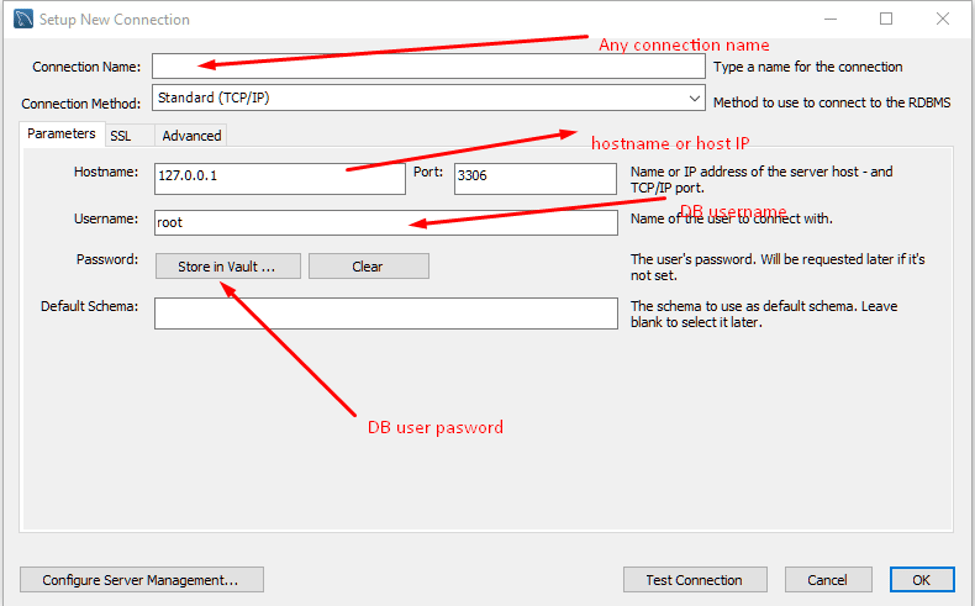
Now just fill in the blanks as we did in our school like “fill in the gaps”. Simply, fill in with hostname/host IP, DB username, and DB Password and click ok. It will successfully connect to your Database. For your reference see the below picture-
After successfully connecting to your database with MySQL WORK bench you will find “data export” & “data import” options from the server option. For your reference see the below picture.
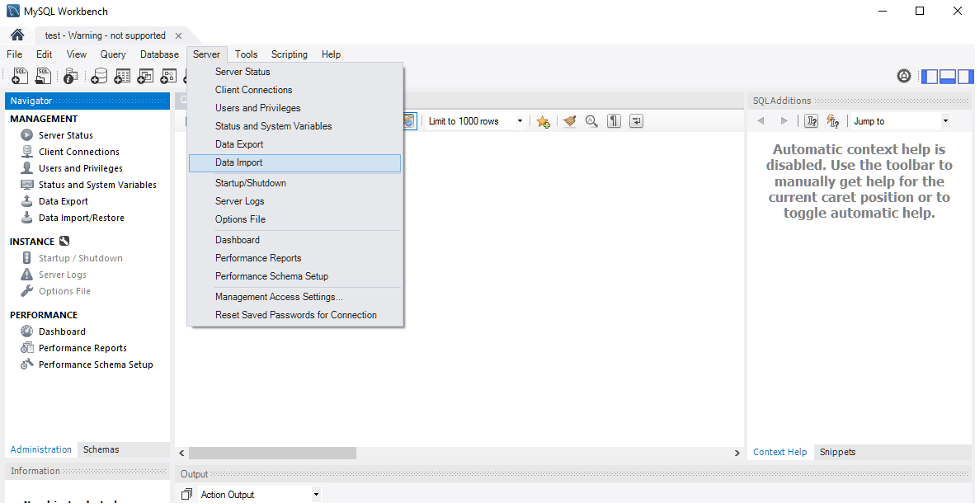
From there you can simply Import/export data to/from your device and also can import/export a large database to your hosting.
